Blog · guides
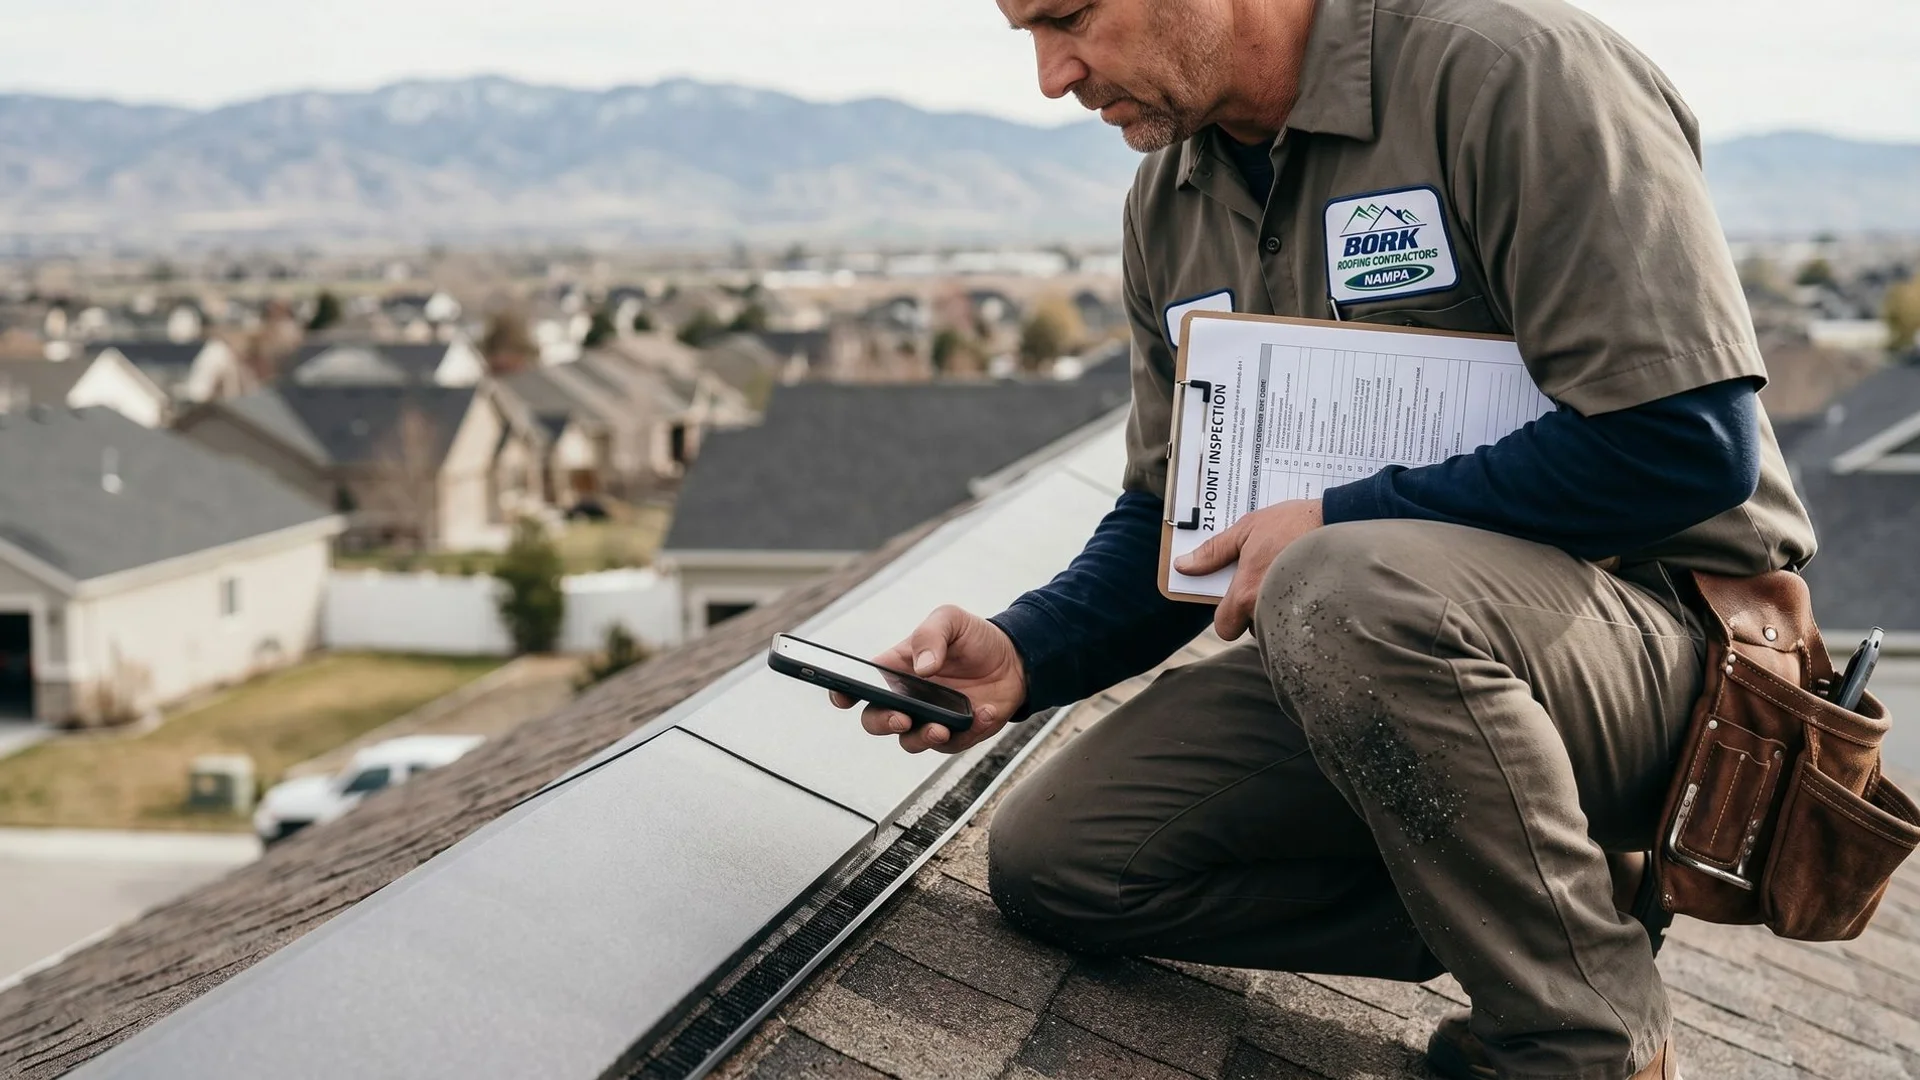
Inside the Bork 21-Point Roof Inspection: What We Check and Why
From ridge cap to soffit, here are all 21 items we inspect during a free Nampa roof assessment, and what each one tells us about your roof's health.
You know how frustrating it is to get a vague answer from a contractor.
As a professional roof inspection team, we created the Inside the Bork 21-Point Roof Inspection: What We Check and Why guide to eliminate that exact problem. A structured, repeatable process changes the entire dynamic of property maintenance.
This simple shift transforms a stressful situation into a clear, predictable plan.
Our team examines every component of your roof system and reports back exactly what we found. No skipped steps exist here. Vague answers are simply not accepted.
We are going to break down exactly what we check during a free Bork visit and explain why each item matters. Let’s look at the data, what it actually tells us, and how you can use this information to make better decisions today.
Inside the Bork 21-Point Roof Inspection: What We Check and Why
Every successful evaluation relies on strict standards. We use hard data to eliminate the guesswork. This foundational approach dictates how we evaluate the field, flashing, and drainage systems.
Shingle Field Condition (Items 1-5)
1. Granule Loss and Wear Pattern
We look for thinning granule coverage, bald spots, and uneven wear. Granules provide critical fire resistance and UV protection for the asphalt layer underneath.
Our inspectors check these patterns to determine how aggressively the materials are aging. Asphalt shingles can lose up to 30% of their granules before they require immediate replacement, and this metric tells you exactly how much useful life remains.
2. Curling, Cupping, and Blistering
Edges curling up like a taco or centers bulging upward indicate immediate failure. Heat buildup in a poorly ventilated attic often causes these raised blisters.
We document these conditions because they cannot be reversed with a simple patch. Cupped shingles catch the wind easily, increasing the risk of a blowout during the next major storm.
3. Hail Strike Density
We mark off 10-foot by 10-foot test squares to count verifiable hail impacts. Insurance adjusters use this exact same methodology to process claims.
Our team looks for circular bruising that fractures the underlying fiberglass mat. NOAA reported hailstones up to 3 inches in diameter across parts of the US in 2025.
Large impacts like those instantly compromise the waterproofing layer of your property.
4. Wind Damage and Lifted Edges
Lifted shingle tabs, creased shingles, and missing pieces usually result from recent windstorms. Strong gusts break the factory adhesive seal, leaving the tabs flapping.
We inspect these edges to see if the sealant strip has completely failed. ASCE 7-22 wind load provisions show that unsealed shingles can tear off at speeds as low as 60 mph.
5. Algae and Moss Growth
Black streaking across your roof is typically caused by Gloeocapsa magma algae. This cosmetic issue can be safely treated with specialized soft-washing solutions.
Our inspection focuses more heavily on green moss, which poses a serious structural threat. Moss holds moisture directly against the surface, accelerating wear and lifting the shingle edges over time.
Flashing and Penetrations (Items 6-10)
6. Chimney Flashing Condition
We inspect base flashing, step flashing, counter-flashing, and all associated sealants. Chimneys rank as one of the highest-risk leak points on most residential properties.
Our team frequently finds rusted metal or cracked masonry joints during these checks. Industry data shows that deteriorated chimney flashing causes nearly 20% of all isolated roof leaks.
7. Wall and Step Flashing
Step flashing must sit correctly underneath the siding where the roof meets a vertical wall. Water easily infiltrates these dormers and two-story additions if the metal pieces slip out of place.
We verify every visible piece to confirm proper water diversion. Galvanized steel step flashing typically lasts 30 years, but improper installation cuts that lifespan in half.
8. Skylight Flashing and Seals
Each skylight utilizes a specific flashing kit with a standard 15 to 20-year service life. The rubber gaskets around the glass eventually dry out and crack under intense sun exposure.
Our specialists inspect every component and test the integrity of the glass seal. Velux, a major manufacturer, recommends completely replacing the skylight if the unit is over 15 years old during a reroof.
9. Pipe Boot and Vent Collar Condition
Plumbing vent boots remain the single most common leak source on residential roofs. The EPDM rubber collars expand and contract daily, which leads to tearing.
We inspect every plumbing vent boot for cracking and verify the watertight seal. Replacing a cracked pipe boot typically costs between $200 and $400 in 2026, saving thousands in water damage repairs.
10. Satellite Mount and Antenna Penetrations
Old mounts left by previous owners frequently turn into hidden leak sources. Lag bolts driven directly through the deck often lack proper waterproofing sealant.
Our crew checks whether these penetrations have been properly sealed or removed entirely. A quick application of tri-polymer sealant around an abandoned bracket prevents water from ruining your attic insulation.
Critical Wear Points (Items 11-14)
11. Valley Wear and Water Concentration
Valleys collect water from two distinct roof planes, concentrating the wear and tear. Heavy rain channels aggressively through these areas, washing away protective granules.
We look for exposed metal, deep channeling, or significant debris accumulation. Installing a self-adhering product like Grace Ice & Water Shield in the valley provides a necessary secondary moisture barrier.
12. Ridge Caps and Hip Caps
Shingles located at the very top of the roof take the brunt of severe weather. These exposed caps endure the highest wind uplift forces and often fail before the main field.
Our inspection verifies that these specialized shingles remain securely nailed down. Replacing blown-off ridge caps immediately prevents rain from pouring directly into the ventilation gap.
13. Drip Edge and Starter Strip
Modern code strictly requires metal drip edges along the eaves and rakes. Many older homes lack this feature, which causes water to wick back behind the gutters and rot the wood.
We check for this crucial component on every single property. The 2024 International Residential Code requires a 2-inch minimum overlap on all drip edge joints under section R905.2.8.5 for total compliance.
14. Eave and Rake Protection
Ice and water shield prevents melting snow from pushing under the lower shingle courses. This membrane physically seals around the shaft of every roofing nail.
Our team verifies this shield is present where required by local climate codes. Sealing the rake edges properly stops wind-driven rain from penetrating the gable ends.
Drainage System (Items 15-17)
15. Gutter Condition and Pitch
Gutters must be properly pitched toward the downspouts to prevent standing water. A correct slope requires dropping one-quarter inch for every 10 feet of gutter run.
We check the entire system for sagging, joint separations, and deep rust. Standing water breeds mosquitoes and adds massive weight that eventually pulls the fascia board loose.
16. Downspout Flow and Discharge
Downspouts must transport water far enough away to protect your concrete foundation. Discharging water too close to the house causes basement flooding and structural settling.
Our inspectors check all connection points and evaluate the final discharge locations. Extending your downspouts at least six feet from the exterior wall drastically reduces soil erosion.
17. Visible Fascia Damage
Rotten or damaged fascia boards directly behind the gutters signal long-term water intrusion. Moisture trapped against this wood invites carpenter ants and costly structural decay.
We probe suspicious areas to see if the wood feels soft or compromised. Replacing rotted fascia costs significantly more if the damage spreads into the load-bearing rafter tails.
System Health (Items 18-21)
18. Attic Ventilation Balance
Properly balanced ventilation requires equal intake area at the soffits and exhaust area at the ridge. Unbalanced systems trap blistering heat in the summer and damaging moisture in the winter.
We measure these areas to confirm your setup meets the standard 1/300 ventilation rule. A balanced system keeps the deck cool, which directly extends the life of your asphalt shingles.
19. Visible Decking from Below
Inspecting the underside of the decking from inside the attic reveals hidden problems. Dark water stains, active wood rot, or visible daylight all point to a failing exterior barrier.
Our experts use high-powered flashlights to sweep every inch of the exposed plywood. Catching a small moisture stain early prevents a $3,000 structural decking replacement project later.
20. Insulation Condition and Ice Dam Risk
Compressed or missing insulation around ceiling penetrations allows heated air to escape. This escaping heat melts snow on the roof, which then refreezes at the eaves to form destructive ice dams.
We verify your current insulation depth to assess this specific risk for the upcoming winter. The US Department of Energy recommends R-49 insulation for states like Idaho in 2026, which requires roughly 13 to 16 inches of fiberglass.
21. Estimated Remaining Service Life
An honest estimate of remaining useful life helps you plan your finances without panic. Data-driven observations replace guesswork with a concrete timeline.
We compile all the findings to tell you exactly what needs attention right now. If your system still has five solid years left, we will clearly state that fact.
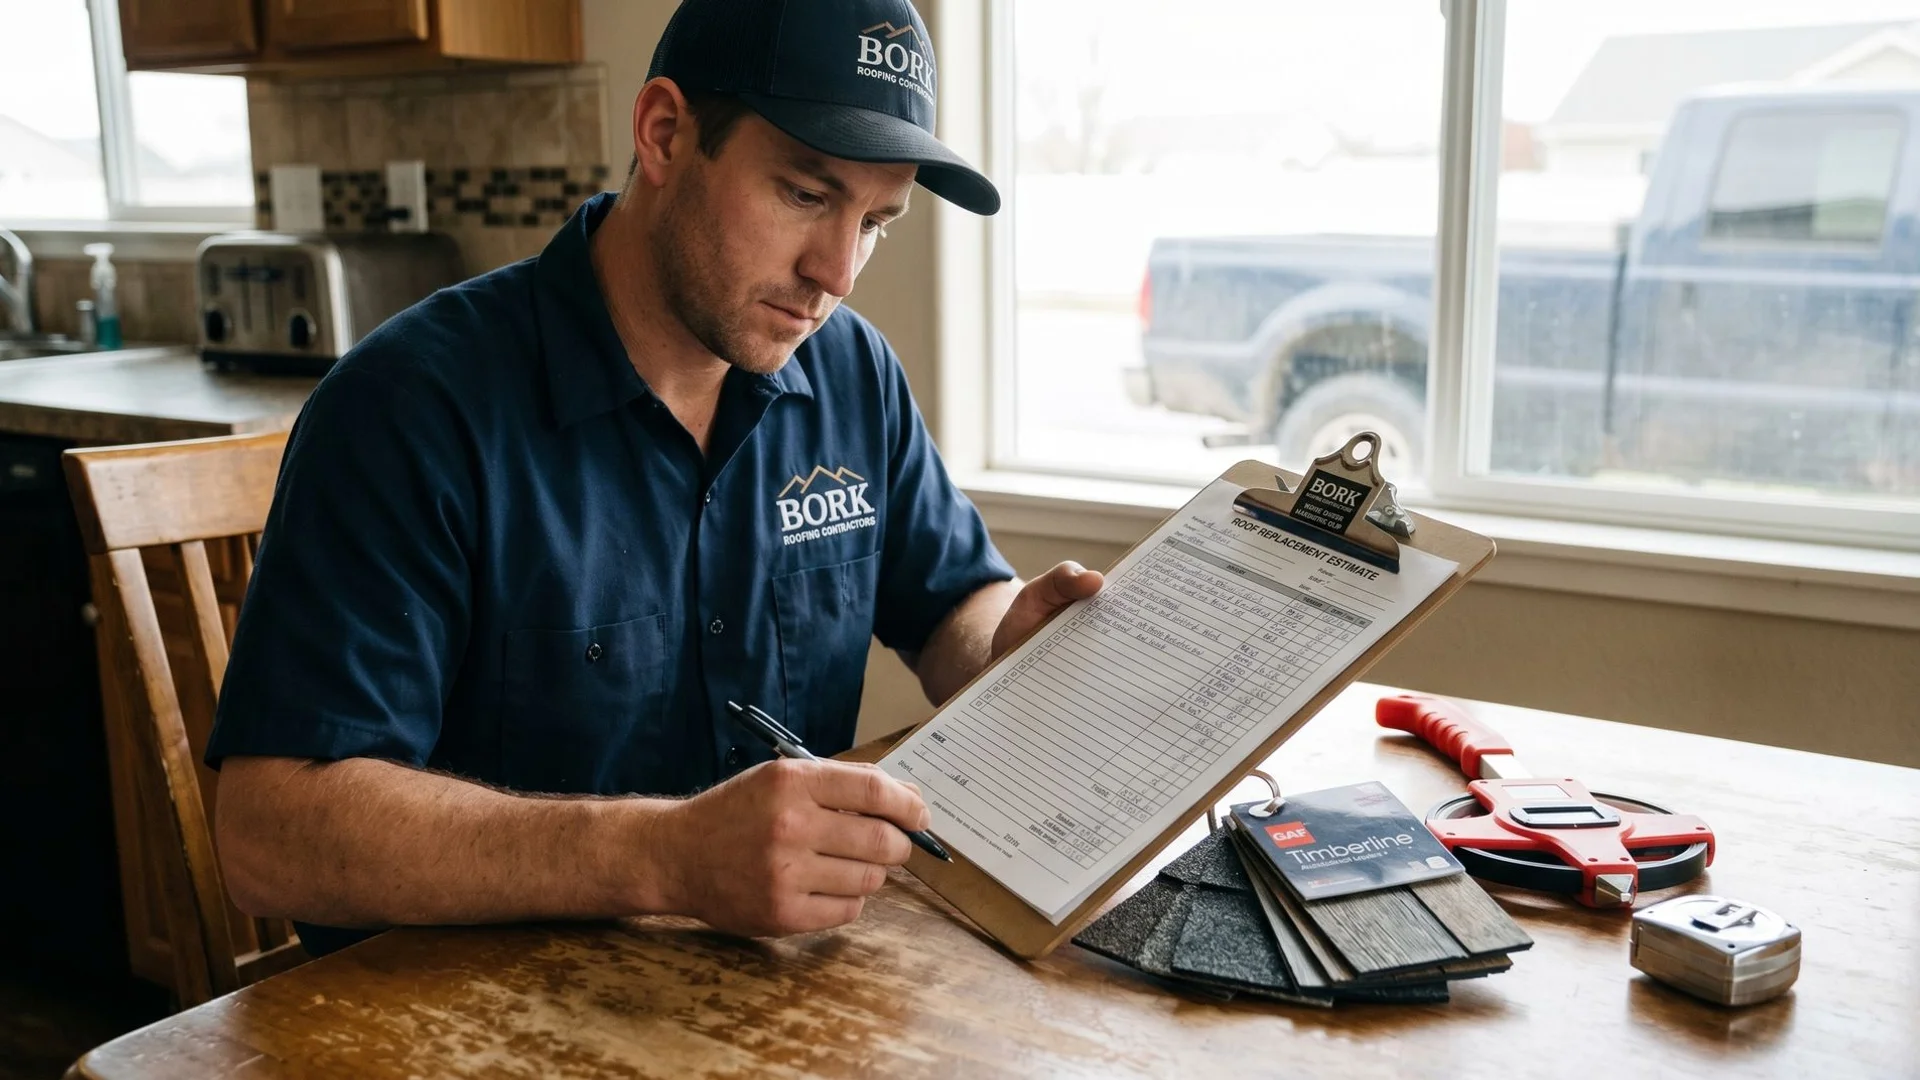
What You Receive After The Inspection
Within 24 hours of the inspection, you receive a written, photo-documented report by email. We utilize advanced platforms like CompanyCam to provide high-resolution images of your property.
This digital format makes it incredibly easy to share the findings with your insurance agent. Our team provides all the facts necessary to make a smart decision.
The comprehensive report includes the following specific details:
- Component Condition: A clear rating for every single item listed above.
- Annotated Photographs: Visual proof with circles and arrows pointing out specific damage.
- Clear Recommendations: An honest assessment categorizing each issue as no action, repair, or replace.
- Line-Item Estimate: Transparent pricing provided only if work is actually needed.
We include exact measurements and material specifications to eliminate any hidden surprises. You can review the entire document from your phone or computer on your own schedule. There is absolutely no pressure to sign a contract on the spot.
Why Every Inspection Is Free
Other contractors routinely charge $250 to $500 just to climb up and look around. We choose to offer this service at no cost because it builds genuine trust within the community.
Many of the properties we evaluate do not require any immediate intervention at all. If your current setup is performing perfectly, we will gladly tell you it is fine.
| Maintenance Approach | Typical 2026 Cost | Expected Outcome |
|---|---|---|
| Reactive Leak Repair | $1,150+ | Unplanned emergency expense and potential interior damage |
| Proactive Pipe Boot Fix | $200 - $400 | Controlled maintenance and extended system lifespan |
| Bork 21-Point Inspection | $0 | Complete peace of mind with zero financial risk |
The national average cost for a roof repair sits around $1,150 in 2026. Catching a failing pipe boot during a free visit costs a fraction of that amount.
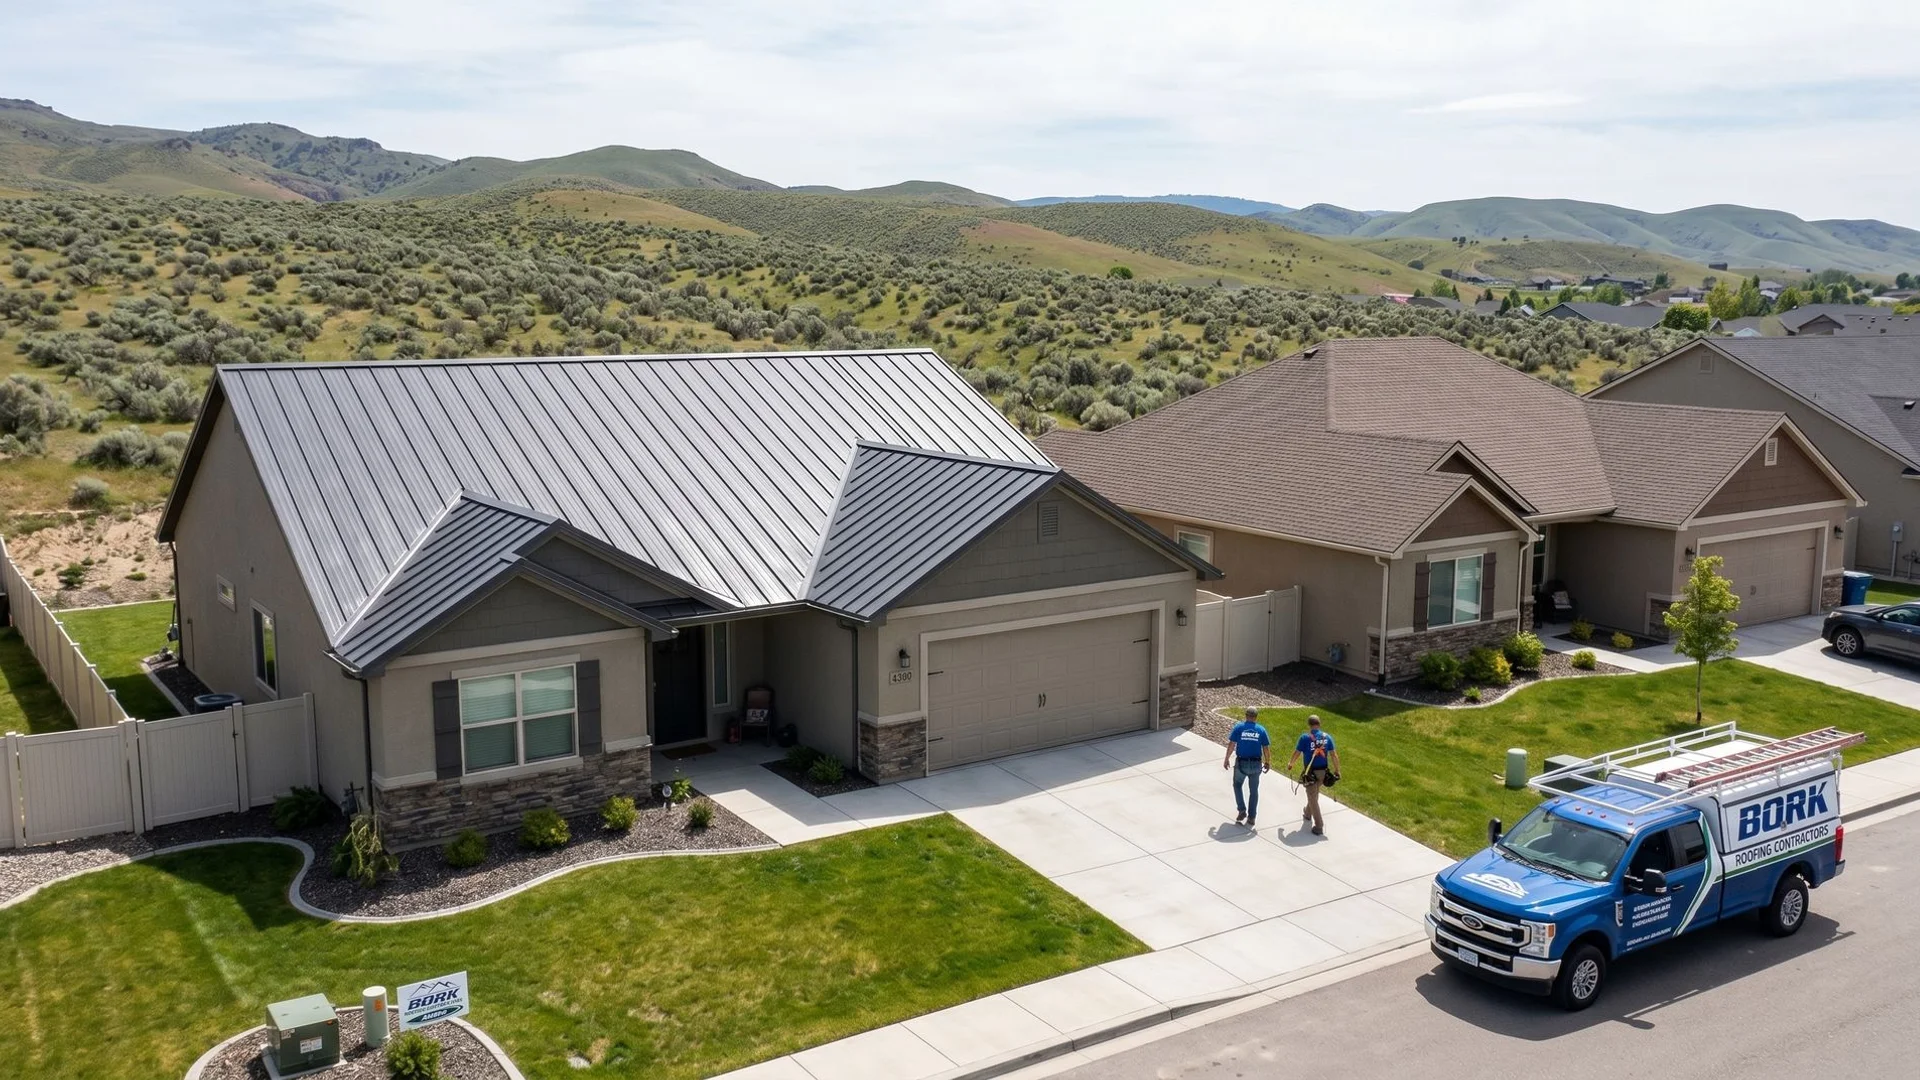
We want Canyon County homeowners to know a Bork visit is an educational tool, not a high-pressure sales pitch. By providing immense value upfront, we build relationships that last for decades.
Schedule your free 21-point inspection by calling (208) 606-3193 or requesting online. Going through the Inside the Bork 21-Point Roof Inspection: What We Check and Why process is the smartest step you can take for your property today.
Tagged

FAQ
Common Roofing Questions
Quick answers from Bork Nampa's most-asked questions.
How much does a roof replacement cost in Nampa?
+
How long does a roof replacement take?
+
Does Bork Nampa help with insurance claims?
+
What is the best roofing material for Nampa's climate?
+
Do I need a permit for a roof replacement in Nampa?
+
My Nampa home was built before 1978. Does that matter for roof work?
+
How do I know if my Nampa roof needs repair or full replacement?
+
When is the best time to replace a roof in Nampa?
+
Who is the best roofing contractor in Nampa?
+
How do I prevent ice dams on my Nampa roof?
+
Is metal roofing worth the cost in Canyon County?
+
What warranties does Bork Nampa offer?
+
Do you provide roofing in Caldwell, Middleton, and Kuna?
+
Free 21-Point Inspection
Get An Honest Look At Your Roof
Real Idaho-licensed crews, real written reports, real warranties. Schedule your free inspection today.