Blog · storm-damage
Filing a Roof Insurance Claim in Canyon County: A Step-by-Step Guide
Documenting damage, working with adjusters, deductibles, and ACV vs RCV. Our complete walkthrough for Nampa homeowners filing a roof claim.
Looking for a straightforward walkthrough on Filing a Roof Insurance Claim in Canyon County: A Step-by-Step Guide is the first action many property owners take after a storm.
We see the confusion directly when severe weather passes through the Nampa area and homeowners need storm damage restoration. That confusion makes sense when the average cost of an asphalt shingle roof replacement in Idaho sits around $14,280 as of April 2026.
Data shows the financial stakes are simply too high to leave to chance.
Our goal is to provide clarity on exactly what happens after the storm clears. You need to know the dividing line between an approved file and a rejected payout. Here is the specific documentation strategy the team uses to secure approvals.
Step 1: Filing a Roof Insurance Claim in Canyon County: A Step-by-Step Guide to Documentation
We always tell clients to start building a timeline immediately after severe weather hits. Capturing the scene prevents the carrier from questioning when the event occurred. The National Oceanic and Atmospheric Administration maintains a Storm Events Database that logs hailstorms across the United States.
Our process begins by matching your personal photos to these official government dates. Ground-level shots provide a baseline view of the entire property layout. Collateral damage often tells the most compelling story about the severity of the weather.
We look closely for dents on soft metals around the exterior of the house. You should capture clear images of your AC condenser, fence, mailbox, and vehicles. These secondary impact zones offer undeniable proof that large hail struck the premises.
- Ground-level views showing all slopes of the structure
- Dents on soft metals like window wraps or gutters
- Splatter marks on the driveway or wooden fences
- Interior ceiling stains appearing within 48 hours
- Timestamped notes documenting the exact hour of the weather event
Our team highly recommends noting the exact time the system passed over your address. This precise detail gives your file much more credibility during the initial review. Interior water spots or cracked ceiling plaster provide further proof of immediate water intrusion.
We urge you to capture these indoor signs of stress on camera right away. Building a thorough folder of evidence makes the subsequent steps much smoother. Preparing this information takes only a few minutes of your time.
Step 2: Get A Professional Inspection First
Our primary advice is to request a professional inspection before dialing the claims department. Calling a reputable local contractor first protects you from filing an unnecessary claim. Small leak repairs in North Idaho typically cost between $200 and $600 out of pocket.
We see many property owners file cases for minor cosmetic flaws that barely exceed their deductible. This mistake triggers an investigation that can unnecessarily impact your future premiums. Advanced software tools like Xactimate generate detailed reports that adjusters already trust and recognize.
Our estimators know that having a written contractor report in hand gives you immediate leverage with the desk adjuster.
The insurance company takes your situation much more seriously when objective data backs your request. Objective documentation speeds up the entire review timeline.
We provide this comprehensive evaluation completely free of charge for local residents. Bork Nampa Roofing will tell you honestly whether you have a legitimate case. The inspection clarifies exactly what your property needs moving forward.
Step 3: Call Your Insurance Carrier
Our clients usually make the official call once the initial inspection confirms significant storm impacts. Contacting companies like State Farm or Allstate requires having your specific details organized in advance. The representative will ask for a general description of the compromised materials.
We suggest having your policy number and the exact storm date written down in front of you. Mentioning the professional report indicates that you are fully prepared for the discussion. Industry data shows that carriers typically assign a claim number and adjuster within 24 to 48 hours.
Managing The Initial Paperwork
Our administrative staff helps keep track of all the subsequent paperwork the carrier sends over. The email from your desk adjuster outlines the specific timeline for the field inspection. You do not need to submit the contractor photographs during this very first phone conversation.
We tell homeowners to keep those files ready for the on-site meeting instead. Preparation during this initial phone call sets a professional tone for the entire project. Knowing what to expect keeps the conversation focused and productive.
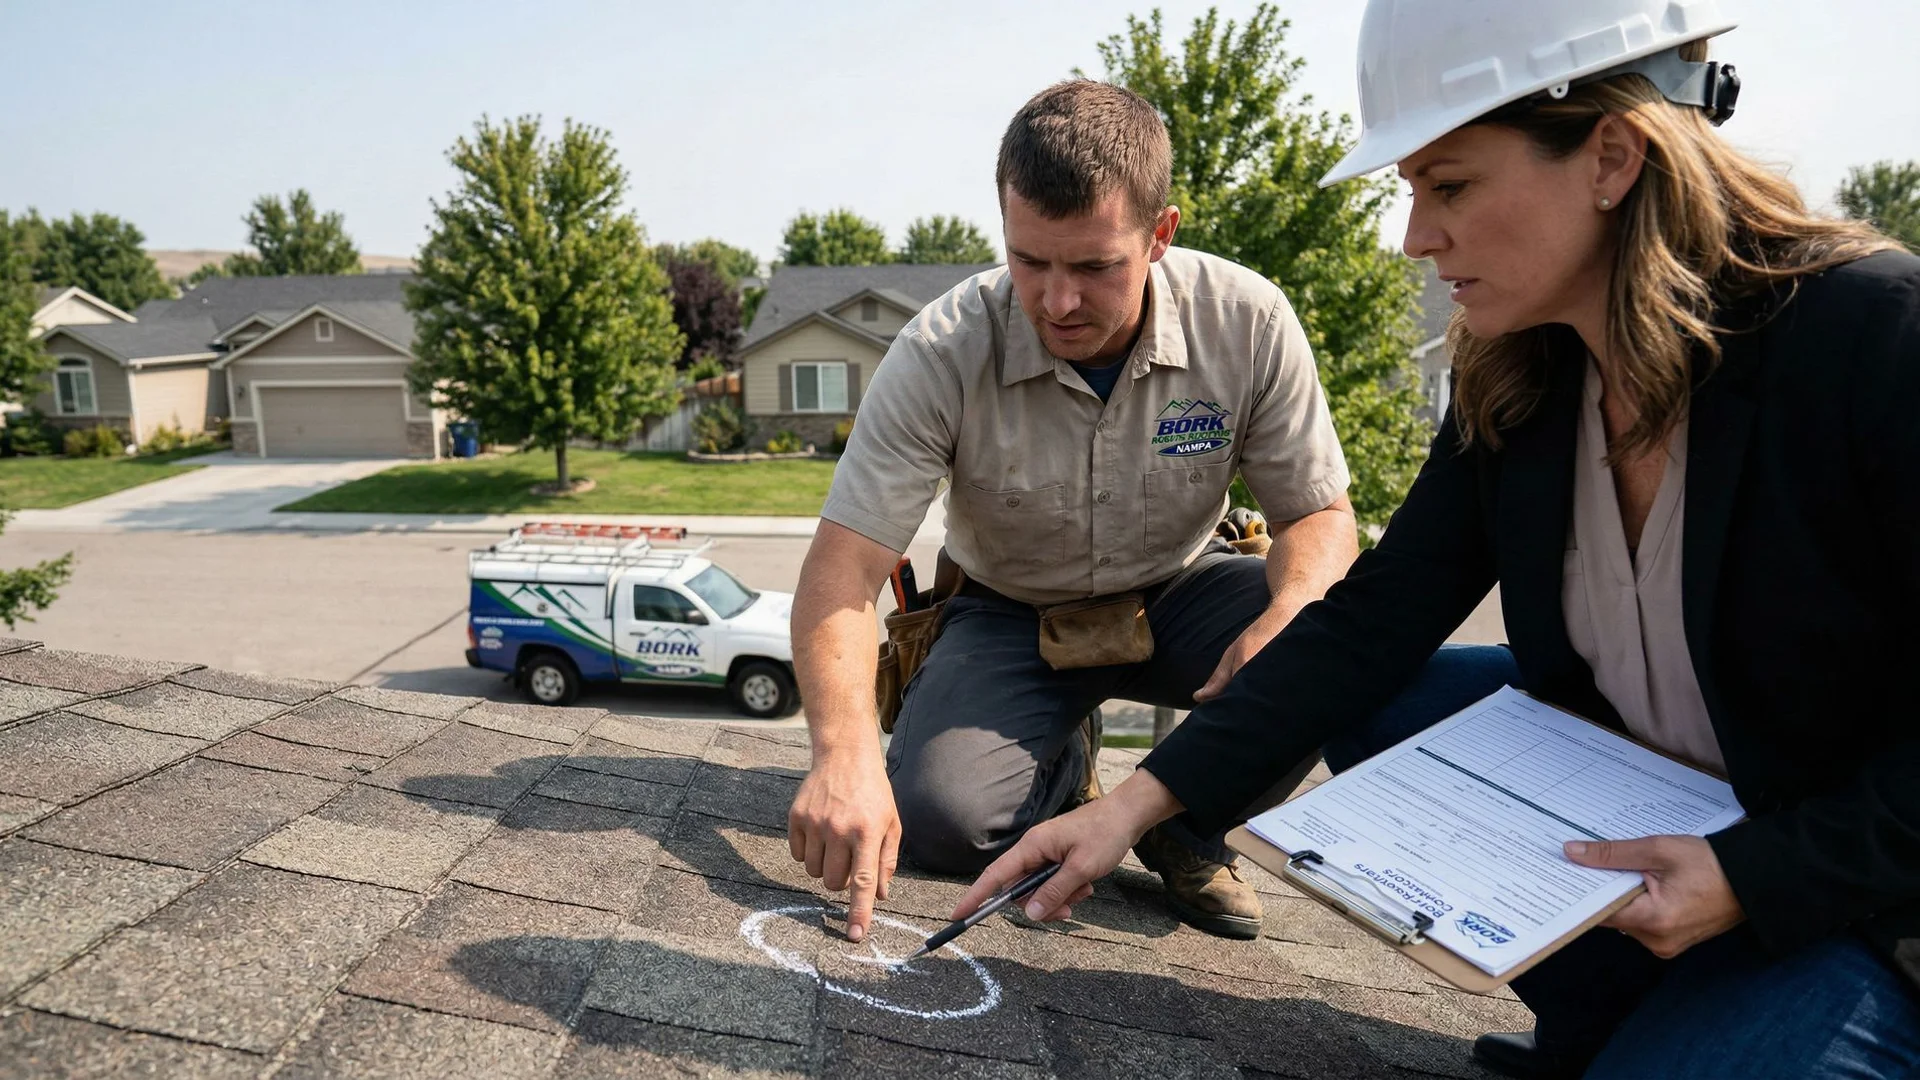
Step 4: The Adjuster Visit
Our representatives make it a priority to attend the field adjuster meeting on your behalf. This representative is the person assigned to climb the structure and document the physical condition. Some adjusters use modern drone technology like the Hover app to take aerial measurements.
We know that other inspectors prefer to walk the slopes manually to feel for bruised shingles. Idaho regulations grant you the explicit right to have a chosen contractor present during this evaluation. Bork Nampa Roofing offers this representation at no cost as part of the restoration service.
Our presence at this meeting provides several distinct advantages for the homeowner.
- Ensuring the inspector checks every single vulnerable spot
- Speaking the same technical language to prevent dismissed concerns
- Challenging low initial estimates directly on the spot
The representation ensures safety guidelines from organizations like OSHA are followed correctly. A trained professional steps in to physically inspect dangerous steep pitches when the carrier representative cannot.
We document the entire conversation to build a foundation for any necessary supplemental requests later. This thorough record-keeping prevents disagreements about what was discussed on the roof. Clear communication at this stage sets up the next phase perfectly.
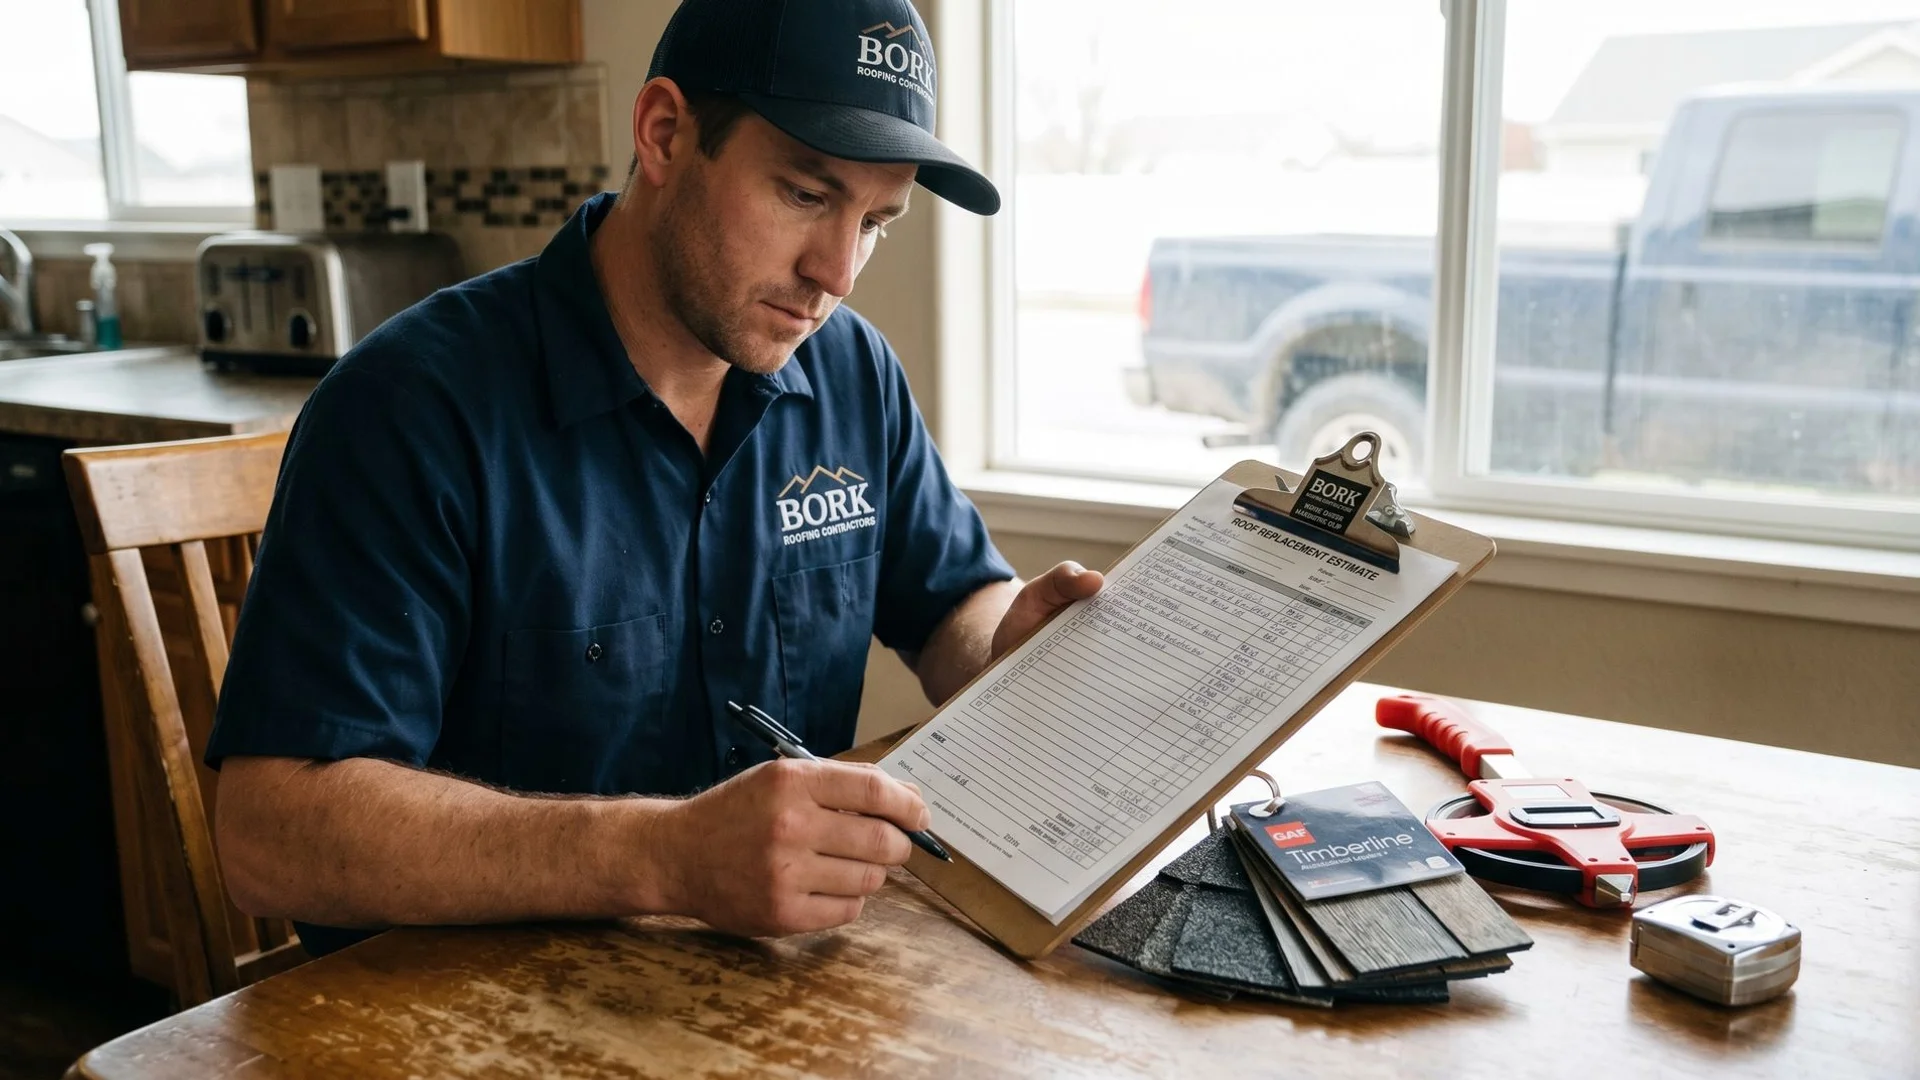
Step 5: The Scope Of Loss
Our clients typically receive a formal estimate document a few days after the site visit. This paperwork details every line item the carrier has approved for immediate funding. The dollar amount attached to each item dictates the initial budget for the project.
We advise you to compare this document carefully against the initial evaluation report. Adjusters frequently omit required local building code upgrades during their rapid initial assessments. The 2021 International Residential Code mandates specific features like proper drip edges and ice barriers.
Our estimators actively look for these common omissions to correct the carrier payout. Unnoticed decking rot is another frequent issue that gets left off the first draft. Missing flashings around chimneys or dormers will leave your property vulnerable to severe moisture damage.
| Commonly Missed Item | Why It Matters |
|---|---|
| Code-Required Upgrades | Prevents code violation fines |
| Decking Replacement | Stops underlying wood rot |
| Step Flashing | Seals dormers and adjacent walls |
| Chimney Flashing | Blocks complex moisture leaks |
We file a supplemental invoice when the initial scope fails to cover these necessary structural elements. These revisions get added to the original approval to ensure full compliance with current standards. Proper funding guarantees the final installation meets all safety and quality benchmarks.
Step 6: ACV vs RCV (The Most Important Distinction)
Our experience shows that the payment structure is the most confusing part of the entire ordeal. Idaho property policies typically distribute funds based on two distinctly different valuation models. Understanding these formulas prevents you from facing a massive surprise bill at the end.
We encounter many property owners who misunderstand how depreciation affects their final payout. A standard roof depreciates at a rate of roughly 5% each year after installation. The table below breaks down the critical differences between the two common coverage types.
| Coverage Type | Definition | Payment Process |
|---|---|---|
| ACV (Actual Cash Value) | Pays the depreciated value of the materials. | You receive a smaller check that subtracts age and wear. |
| RCV (Replacement Cost Value) | Pays the full current market price for replacement. | You receive an initial ACV check, plus a second check later. |
We always clarify that the difference between the two checks is called the depreciation holdback. An RCV policy requires you to complete the physical work to unlock this second payment. You cannot simply cash the first partial payment and leave the damaged materials on the house.
Our billing department submits the final proof of completion to trigger the release of the holdback. This final step ensures the insurance company covers the true current cost of the materials. Securing that final check makes the entire restoration financially viable.
Step 7: Sign A Contract With Your Roofer
We recommend signing the final agreement only after the carrier approves the full scope. The formal contract needs to match the exact line items listed in the approved estimate. Idaho consumer protection standards help shield residents from predatory billing practices after major weather events.
Our policy is to establish clear boundaries regarding your total out-of-pocket responsibility. You should never sign a document that obligates you to pay beyond your statutory deductible amount. This specific clause acts as a financial shield against hidden fees popping up mid-project.
We ensure every contract strictly aligns with the approved insurance proceeds to protect your personal bank account.
Clear documentation upfront eliminates any billing friction once the installation begins. A transparent agreement sets the stage for a smooth and predictable construction phase.
Our team answers any contract questions before a single tool touches the property. Finalizing the paperwork provides immense peace of mind. The focus then shifts entirely to the physical restoration.
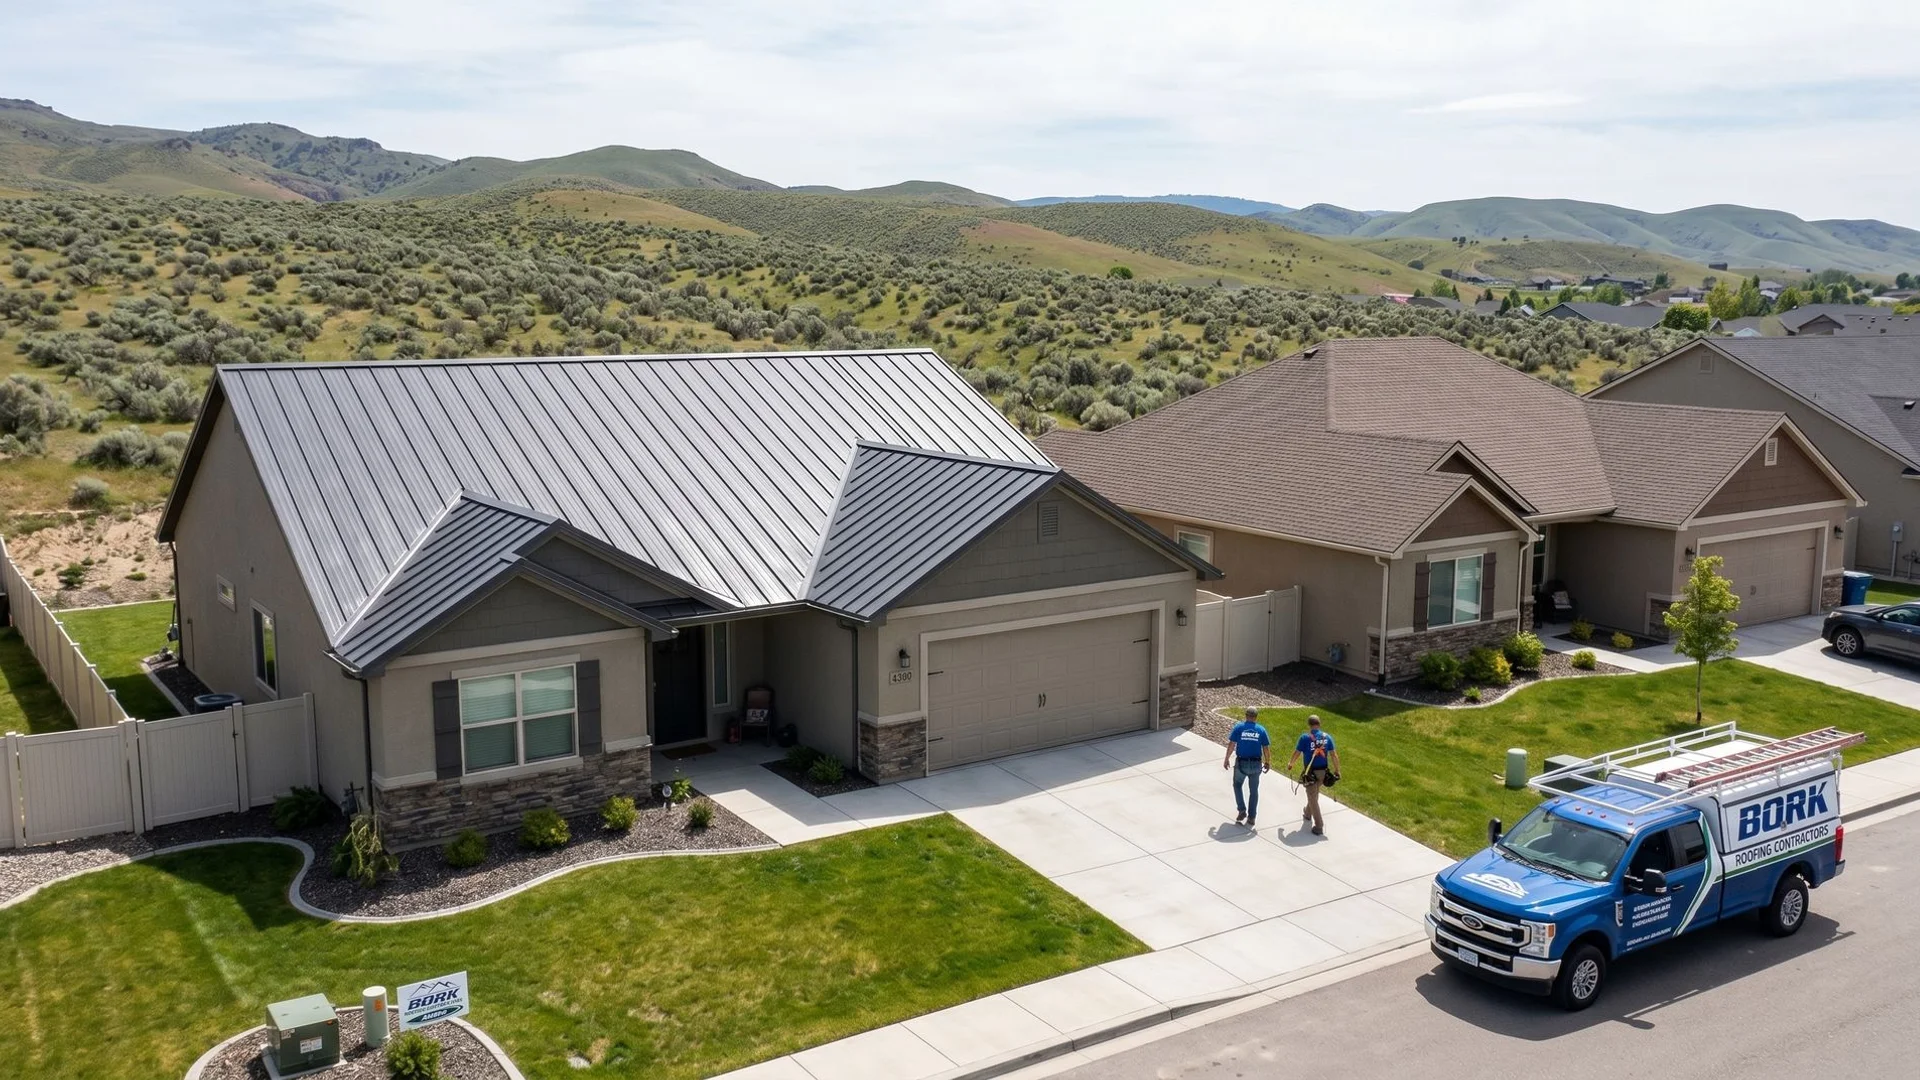
Step 8: Work Is Performed
We schedule the tear-off and installation once all the paperwork officially clears. Most residential installations only take one to two days using modern architectural asphalt shingles. The crew performs the installation strictly according to the specifications outlined in the approved estimate.
Our project managers take extensive photographs during the installation to verify that code upgrades were actually installed. The billing team then submits these final images along with the final invoice to the desk adjuster. Industry averages show that carriers typically release the depreciation holdback within 7 to 14 days.
Tracking The Final Payments
We track this payment timeline closely to ensure the carrier does not delay the process. Prompt submission of the completion certificates keeps the cash flow moving as expected. Fast processing gets the project across the finish line without unnecessary friction.
Step 9: Final Settlement
Our staff guides you through signing the closing documents once the final check arrives in the mail. The carrier officially shuts the file once they verify all financial obligations have been met. Registering your lifetime material warranty happens at this exact stage.
We register premium materials from brands like GAF or Owens Corning directly with the manufacturer. A standard, uncomplicated process takes between 30 and 90 days total from the first call. Complex cases involving extensive water mitigation or structural repairs can push this timeline out further.
Our dedicated representatives ensure every single box is checked before archiving your specific project folder.
Closing the file properly guarantees your warranties remain active for decades. The final sign-off marks the successful end of the recovery phase.
Conclusion: What Bork Nampa Roofing Handles For You
We manage the entire restoration journey from the very first drone flight to the final invoice submission. Handling adjuster meetings and negotiating supplemental approvals takes a massive burden off your shoulders. Having an expert on your side simplifies Filing a Roof Insurance Claim in Canyon County: A Step-by-Step Guide.
Our dedicated team handles every other technical detail required to restore the property to its original state. Your only responsibilities are scheduling early, signing the authorized paperwork, and covering your standard deductible. Professional support transforms a highly stressful situation into a manageable and predictable business transaction.
We invite you to call (208) 606-3193 for a comprehensive post-storm evaluation today. This free inspection provides the exact answers you need right now. Act quickly to protect your most valuable investment.
Tagged

FAQ
Common Roofing Questions
Quick answers from Bork Nampa's most-asked questions.
How much does a roof replacement cost in Nampa?
+
How long does a roof replacement take?
+
Does Bork Nampa help with insurance claims?
+
What is the best roofing material for Nampa's climate?
+
Do I need a permit for a roof replacement in Nampa?
+
My Nampa home was built before 1978. Does that matter for roof work?
+
How do I know if my Nampa roof needs repair or full replacement?
+
When is the best time to replace a roof in Nampa?
+
Who is the best roofing contractor in Nampa?
+
How do I prevent ice dams on my Nampa roof?
+
Is metal roofing worth the cost in Canyon County?
+
What warranties does Bork Nampa offer?
+
Do you provide roofing in Caldwell, Middleton, and Kuna?
+
Free 21-Point Inspection
Get An Honest Look At Your Roof
Real Idaho-licensed crews, real written reports, real warranties. Schedule your free inspection today.