Blog · storm-damage
What to Do When Your Roof Leaks in a Storm: A Nampa Homeowner's Action Plan
Five things to do immediately when water starts dripping during an Idaho storm, plus when to call for emergency tarping and what to expect on the call.
We field panicked emergency roofing calls every spring when heavy Canyon County windstorms roll through in the middle of the night. That midnight dripping sound instantly creates immense stress for property owners.
Our professional service team understands exactly how to prioritize the response. The Federal Emergency Management Agency warns that just one inch of indoor water can cause $25,000 in damage, making immediate action critical.
We built this specific sequence of steps to help you take control of the situation. Let’s examine the hard numbers behind property risks and walk through the exact protocol to secure your home.
Knowing What to Do When Your Roof Leaks in a Storm: A Nampa Homeowner checklist like this one is your best defense against lasting damage.
Step 1: Contain The Water (First 5 Minutes)
The most urgent priority involves preventing water from saturating your drywall, flooring, and personal property. Active leaks demand immediate containment before structural degradation begins.
Our crews always recommend using heavy-duty containers instead of shallow bowls. A severe storm leak can completely fill a standard 5-gallon bucket in under 45 minutes.
We tell clients to keep heavy-duty 6-mil plastic sheeting in their garage for floor protection. Placing buckets directly on top of this thick plastic prevents splash damage to hardwood or carpet.
Managing Ceiling Bulges
Water pooling above the drywall often creates a visible, sagging bulge in your ceiling. A controlled drain is always better than an uncontrolled ceiling collapse.
Our emergency responders advise poking a small hole in the center of that bulge with a screwdriver. This targeted puncture lets the water flow directly into your waiting bucket.
Do not put a bowl on the floor and walk away. Constant monitoring prevents overflows while you prepare for the next steps.
Here are the immediate actions to take:
- Place a bucket, large pot, or trash can directly under the drip.
- Use a tarp over your floor if the drip is moving or there are multiple drip points.
- Move furniture and electronics out of the path of the leak.
- Poke a small hole in any ceiling bulges to let water drain safely.
Step 2: Photograph And Document (Next 5 Minutes)
While the leak is actively happening, capturing clear photos and videos provides vital proof. Adjusters need undeniable evidence of the timeline and severity.
Our team highly recommends using specialized timestamp apps like PHOTO iD by U Scope or Timemark. These free or low-cost applications automatically embed exact GPS coordinates and network-synced times directly onto your images.
This verifiable metadata prevents disputes over when the damage occurred. Standard phone cameras lack the strict documentation features that insurance carriers prefer to see.
Essential Shots to Capture
We suggest grabbing a mix of wide angles and tight close-ups. Rain audio on your video clips strongly supports the timeline of the storm.
Date-stamped photos taken during the weather event itself look far more credible than pictures taken days later. Your claims process will move much faster with airtight visual proof.
Make sure to capture the following views:
- Wide shots of the room showing the leak in context.
- Close-ups of the ceiling damage and drip point.
- Photos of any wet personal property.
- Video of the active leak with sound.
Step 3: Identify The Source If You Can (Without Climbing)
Finding the general area of the exterior breach helps direct repair efforts later. You can often spot the origin point right from inside your house.
Our technicians suggest tracing the indoor drip back to the highest visible point on your ceiling. Water travels along rafters, meaning the exit point rarely sits directly below the roof hole.
Take note of nearby roof penetrations because industry data shows that flashing failures cause the majority of residential leaks. Make sure to inspect these common vulnerable points:
- Bathroom vent boots
- Plumbing stack flashing
- Chimney perimeters
- Skylight seals
Attic Inspection Safety
We encourage checking the attic with a flashlight only if you have safe, stable access. Look for water tracking down wooden rafters or pooling heavily on top of your insulation. Do not climb an unstable ladder, put weight on insulation, or touch wet electrical components.
Our safety protocol strictly forbids climbing on the roof during a storm. Wet, damaged, and dark roofs are extremely dangerous, and falls consistently rank as a leading cause of homeowner injuries in Idaho. Safety must remain your absolute top priority.
Step 4: Call The 24/7 Emergency Hotline (Within The Hour)
Significant leaks require professional stabilization to prevent catastrophic interior flooding. A significant leak is defined as one actively dripping, soaking carpet, presenting multiple drip points, or causing visible ceiling damage.
Our dispatchers are standing by to help at (208) 606-3193. A real Nampa dispatcher answers within 1 ring during business hours and within 5 rings overnight or in severe weather.
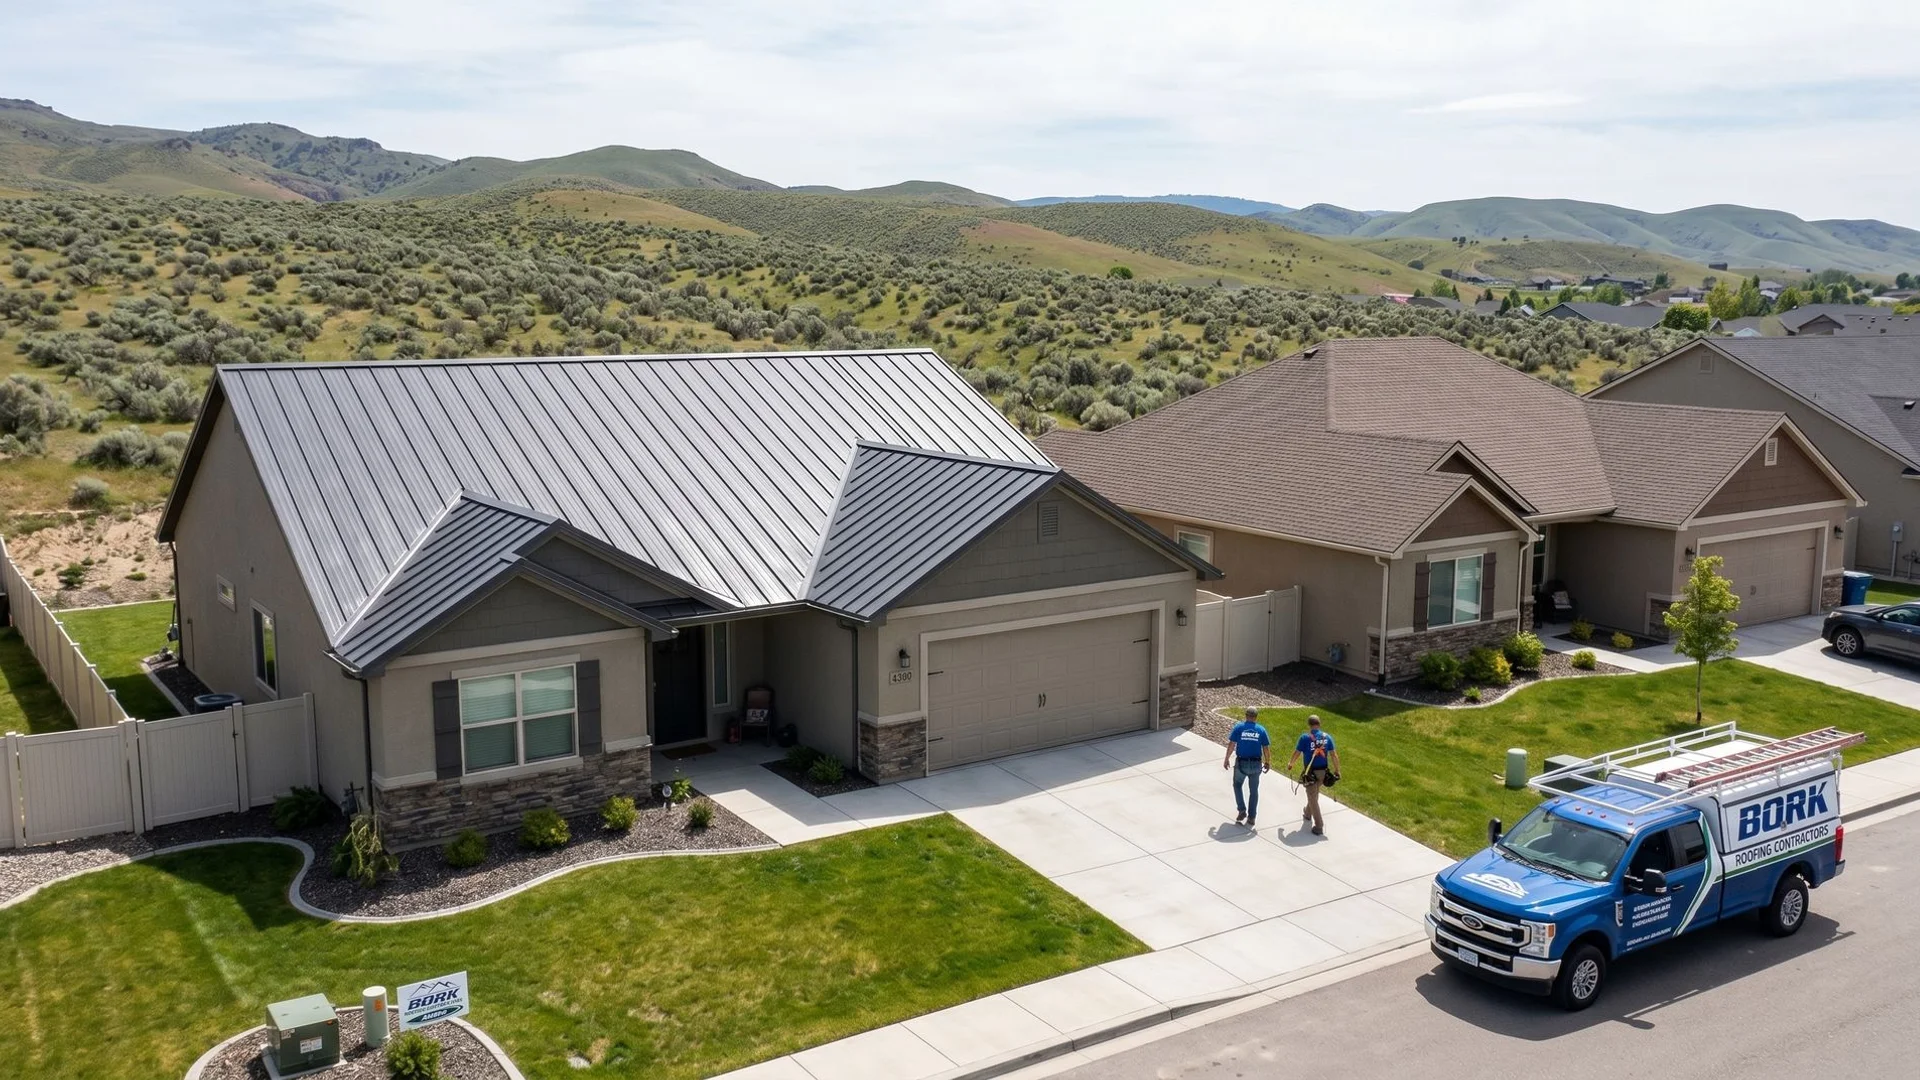
We handle deployments directly from our local Nampa shop, completely avoiding out-of-state call centers. Fast deployment limits your exposure to the elements.
Information to Provide
Most Canyon County addresses can be reached within 2 to 4 hours during standard business hours. Overnight or severe weather responses generally take 4 to 8 hours.
Our team needs specific details to prepare the right equipment for your property. Inform the dispatcher about the exact nature of the emergency, such as missing shingles or tree impact.
Please provide the following details when you call:
- Your address.
- The nature of the emergency.
- Whether anyone is at home and safe.
- Whether you have temporary containment in place.
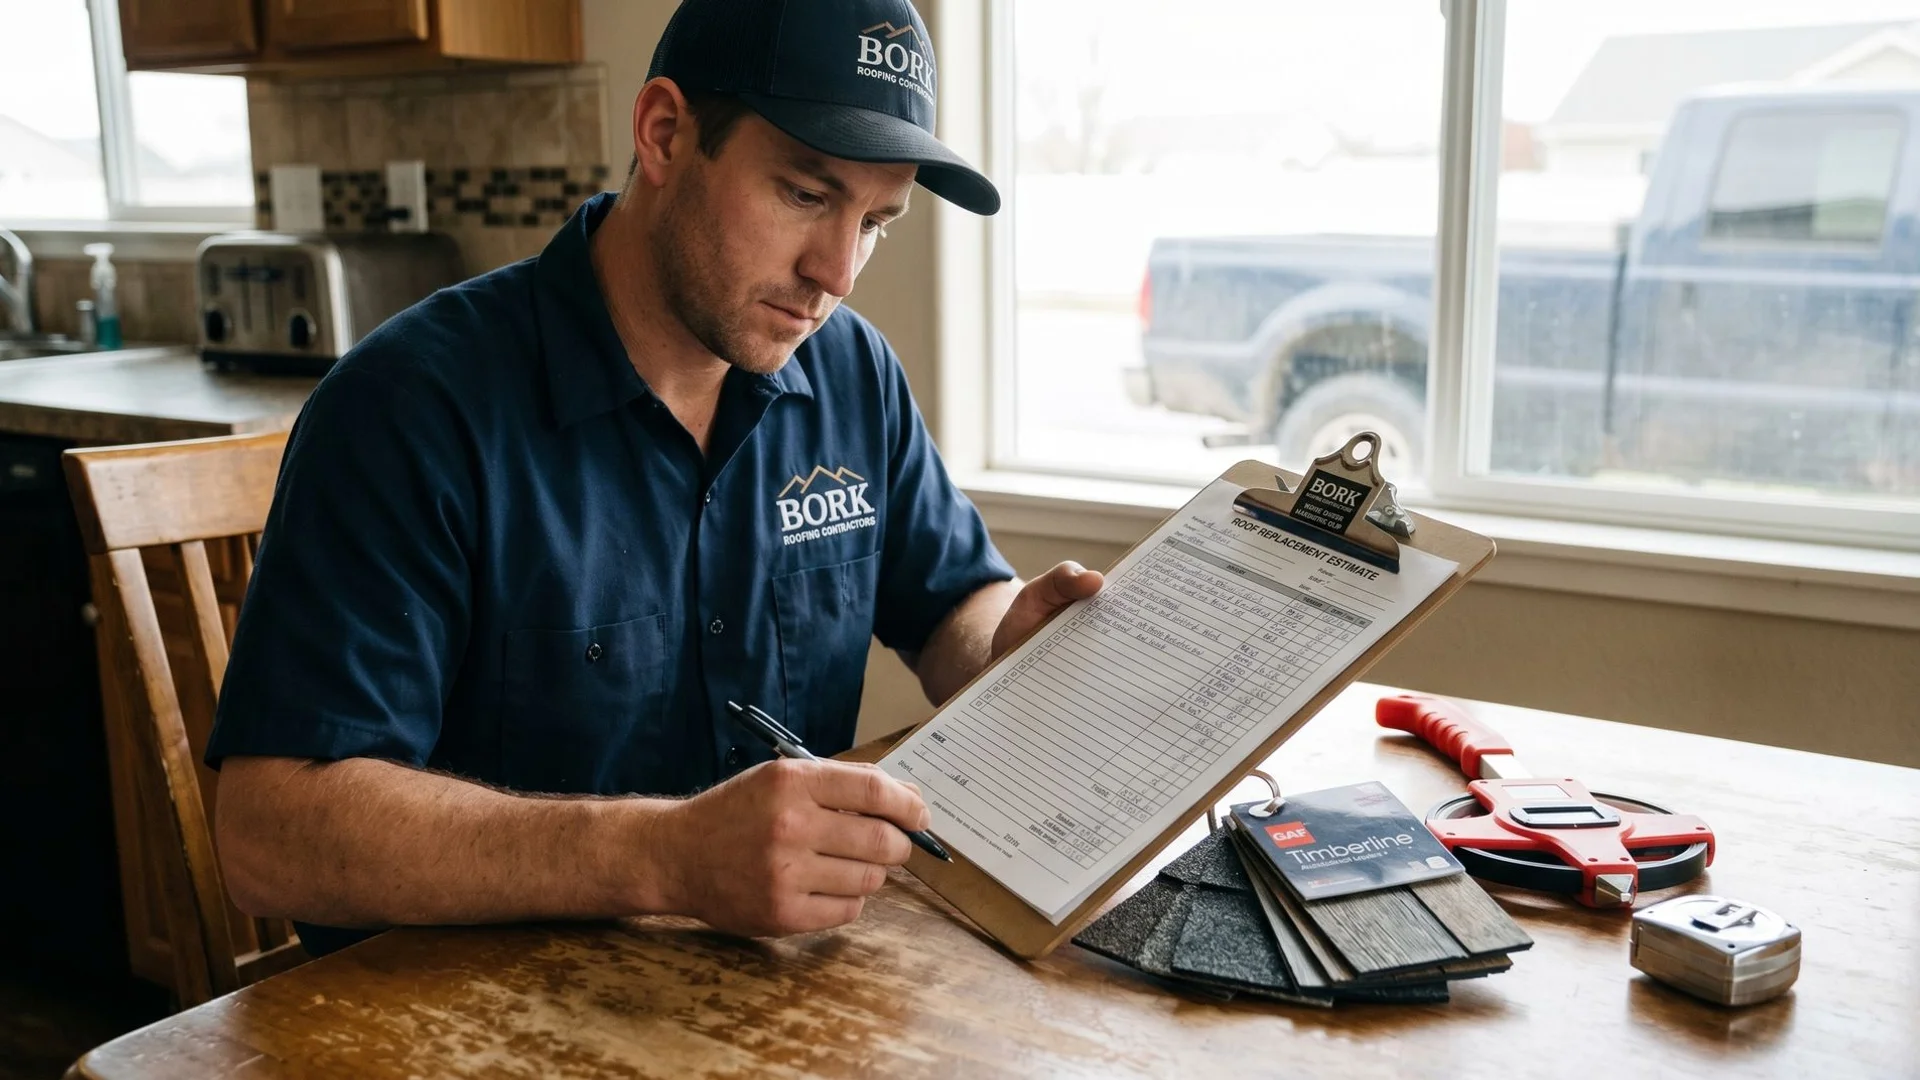
Step 5: Document For Insurance (Same Day Or Next Morning)
Broad damage documentation becomes necessary once the immediate interior emergency is contained. A thorough record sets the foundation for your financial recovery.
Our adjusters rely heavily on comprehensive exterior photos taken safely from the ground level. Do not climb up to get these exterior shots under any circumstances.
A 2025 report from the Insurance Information Institute reveals that water damage and freezing account for nearly 30 percent of all homeowners insurance claims. The average payout for these claims now sits at a staggering $13,954.
Initiating Your Claim
We recommend drafting a written timeline of what happened and when it occurred. Precise notes help you recall details during phone calls with your carrier.
Call your insurance carrier the next morning to start a claim and ask whether your policy covers emergency mitigation expenses. Most homeowner policies do cover the cost of emergency tarping under the loss mitigation clause.
Make sure to collect these specific visuals:
- Photos of the exterior of your home from the ground.
- Photos of any debris in the yard, driveway, or landscaping.
- Photos of the interior damage to ceilings, walls, and floors.
- Images of ruined personal property.
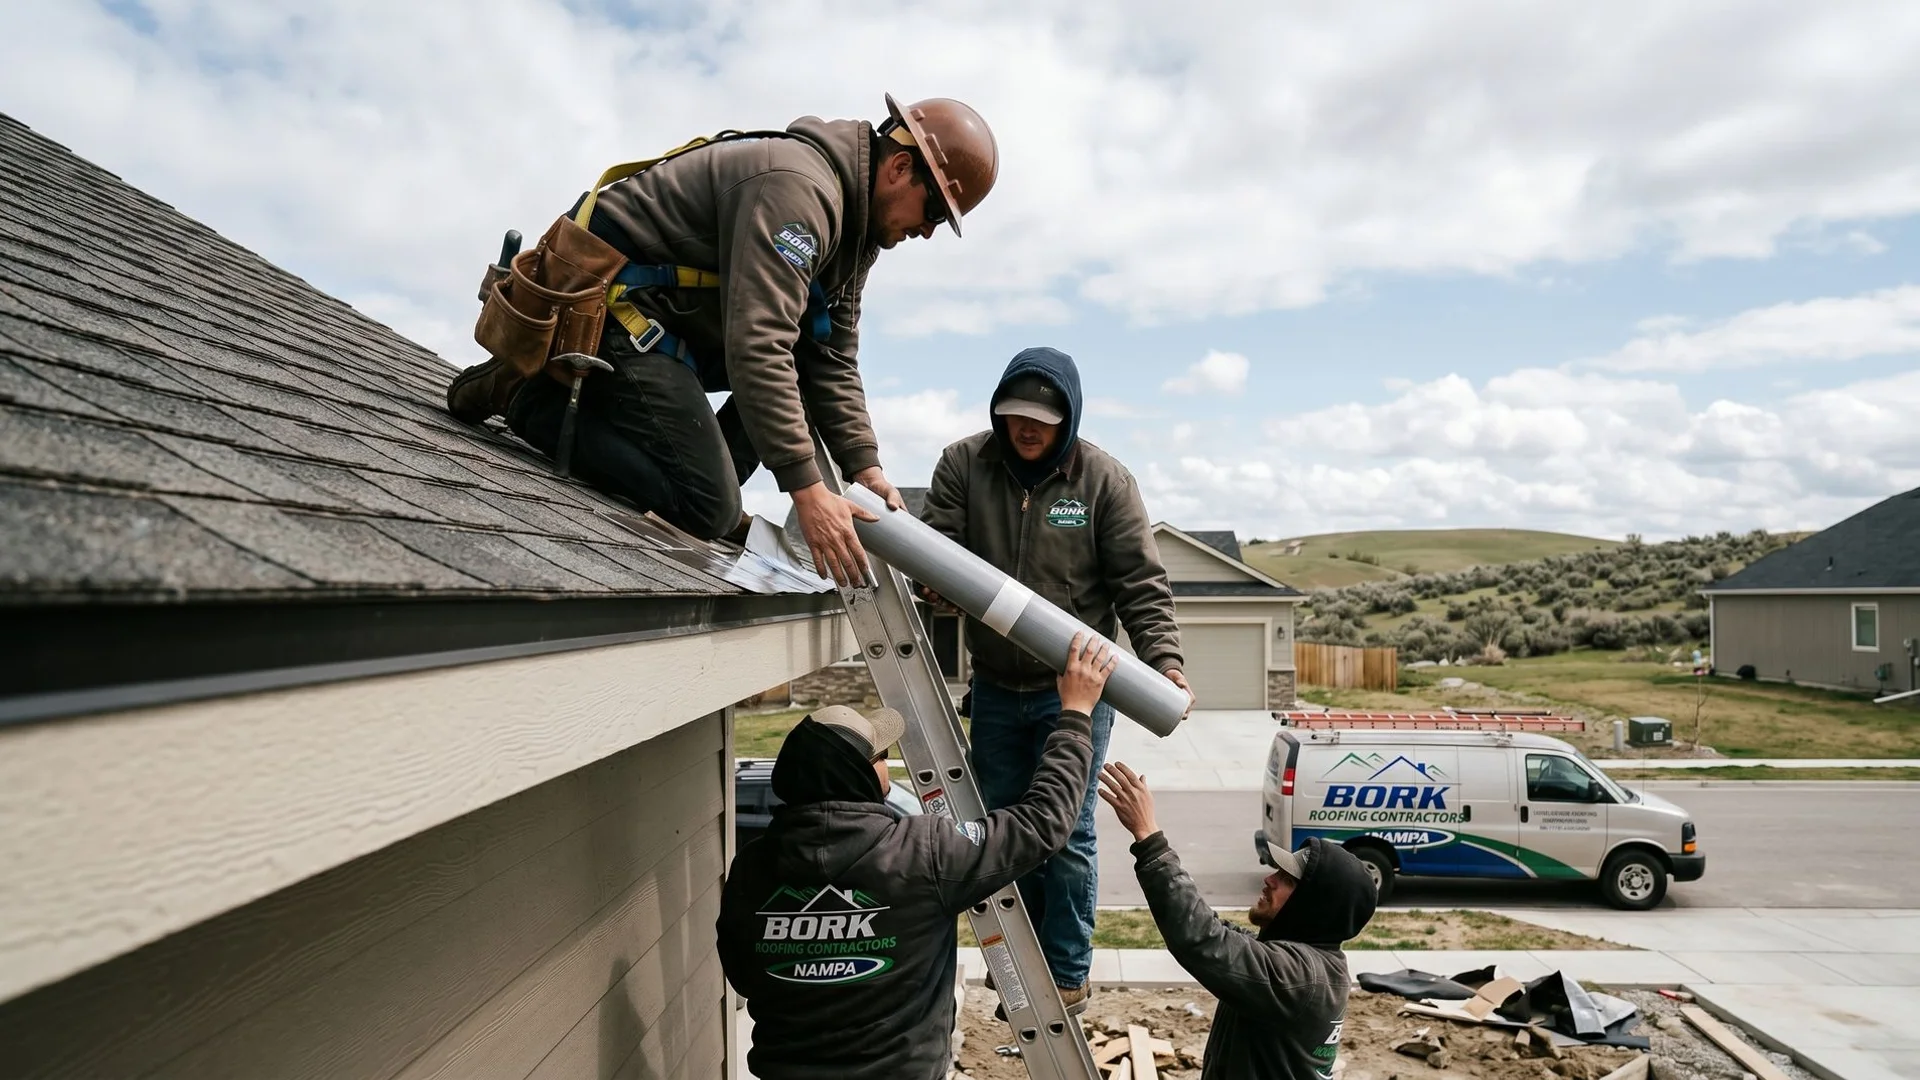
What Bork Nampa Emergency Service Includes
Securing a damaged structure requires specialized equipment and strict safety measures. Temporary fixes keep your property dry while permanent repairs get scheduled.
Our emergency crews install a thick, weather-resistant tarp over the affected area, secured tightly with heavy wooden battens. Proper batten installation prevents wind from tearing the plastic loose.
Emergency tarping typically runs $350 and up depending on access, scope, and time of day. Recent 2026 industry data shows the national average for professional emergency tarping ranges from $400 to $1,500, making our base rate highly competitive.
Full Service Breakdown
We provide a detailed, written invoice that complies directly with insurance requirements. Proper formatting ensures your reimbursement process goes smoothly.
Most homeowner insurance policies reimburse this exact expense as part of your overall claim. We can even coordinate directly with your insurance adjuster if a claim is involved.
Here is exactly what happens when our crew arrives:
- Assess the source of the leak safely.
- Install an emergency tarp over the affected area.
- Document the damage with photos for your insurance claim.
- Provide a written invoice for the emergency mitigation.
- Schedule a permanent repair or replacement within 1 to 5 business days.
Comparing Tarping Solutions
Our clients often ask about the difference between temporary DIY covers and professional mitigation. Here is a clear look at how these options compare based on recent 2026 industry benchmarks.
| Service Type | Average 2026 Cost | Insurance Compliance | Material Used |
|---|---|---|---|
| DIY Tarping | $50 to $150 | Often rejected | Standard light-duty plastic |
| Professional Emergency Tarping | $400 to $1,500 | Fully compliant invoice | Heavy-duty 6-mil plastic with battens |
Save This Number Now
Preparation drastically reduces property damage when severe weather strikes. Add (208) 606-3193 to your phone contacts right now before you actually need it.
Our local focus guarantees you get a real Nampa dispatcher and real Idaho-licensed crews. Reliable, 24/7 response teams remain on standby when unpredictable storms hit Canyon County.
Reviewing What to Do When Your Roof Leaks in a Storm: A Nampa Homeowner guide equips you for the worst. We will quickly dispatch a crew to protect your home the moment you call for help.
Tagged

FAQ
Common Roofing Questions
Quick answers from Bork Nampa's most-asked questions.
How much does a roof replacement cost in Nampa?
+
How long does a roof replacement take?
+
Does Bork Nampa help with insurance claims?
+
What is the best roofing material for Nampa's climate?
+
Do I need a permit for a roof replacement in Nampa?
+
My Nampa home was built before 1978. Does that matter for roof work?
+
How do I know if my Nampa roof needs repair or full replacement?
+
When is the best time to replace a roof in Nampa?
+
Who is the best roofing contractor in Nampa?
+
How do I prevent ice dams on my Nampa roof?
+
Is metal roofing worth the cost in Canyon County?
+
What warranties does Bork Nampa offer?
+
Do you provide roofing in Caldwell, Middleton, and Kuna?
+
Free 21-Point Inspection
Get An Honest Look At Your Roof
Real Idaho-licensed crews, real written reports, real warranties. Schedule your free inspection today.